- Let's start by using the New Part Tool to add our button to our plot.
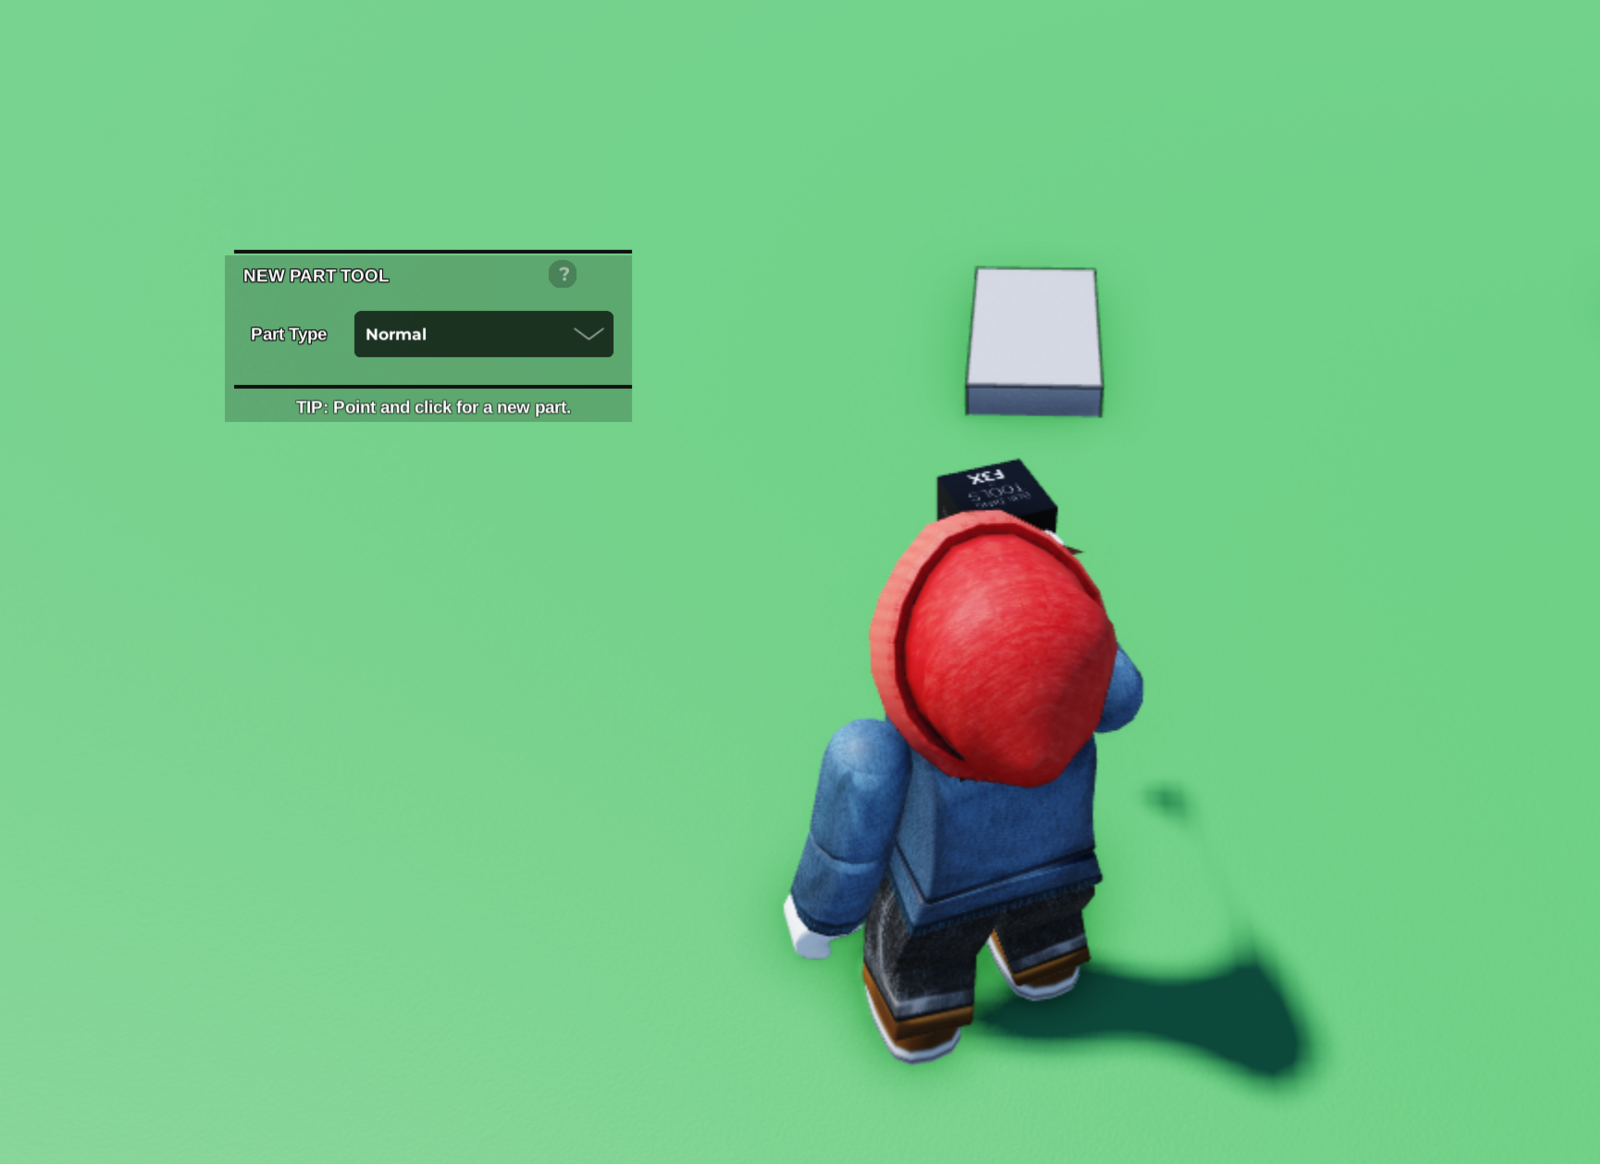
- Next, we'll click on this button to open our Properties tab, and from there we can open up the Code Builder.

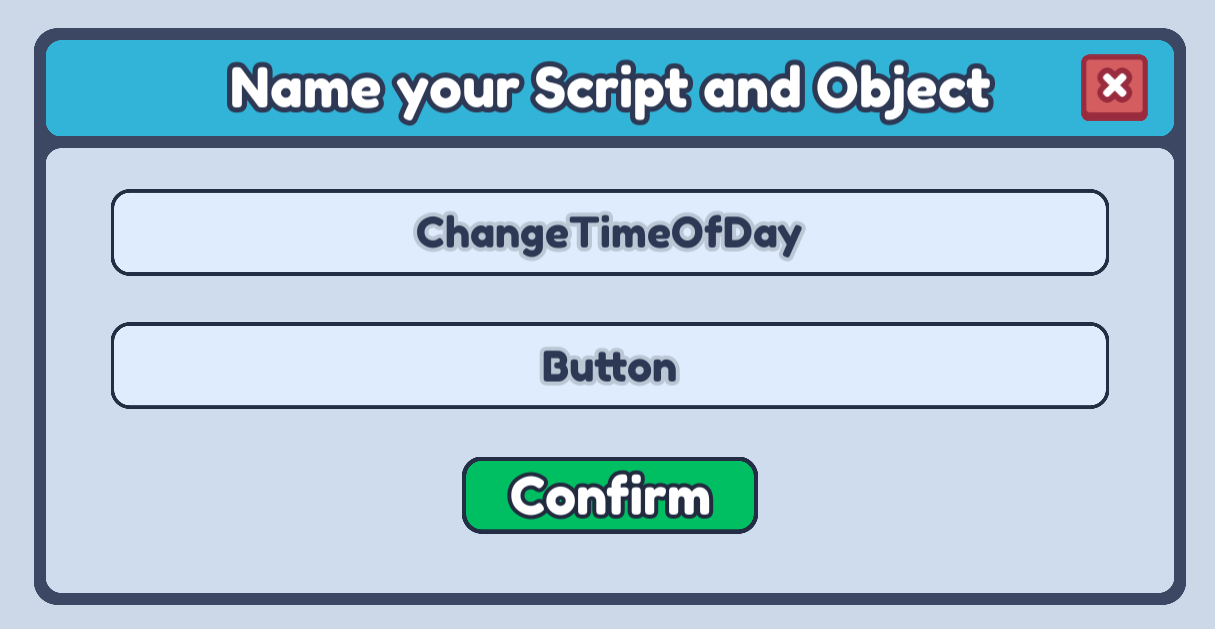
- You can name the script anything that describes what it will do, and let's call our part Button!
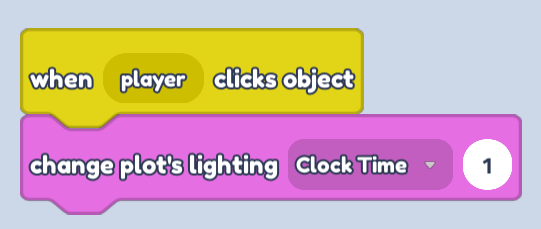
- Firstly, we need know when the player clicks this button. So let's open up our Events blocks and drag a when player clicks object block into our scripting area. This will activate every time the player clicks on this part!

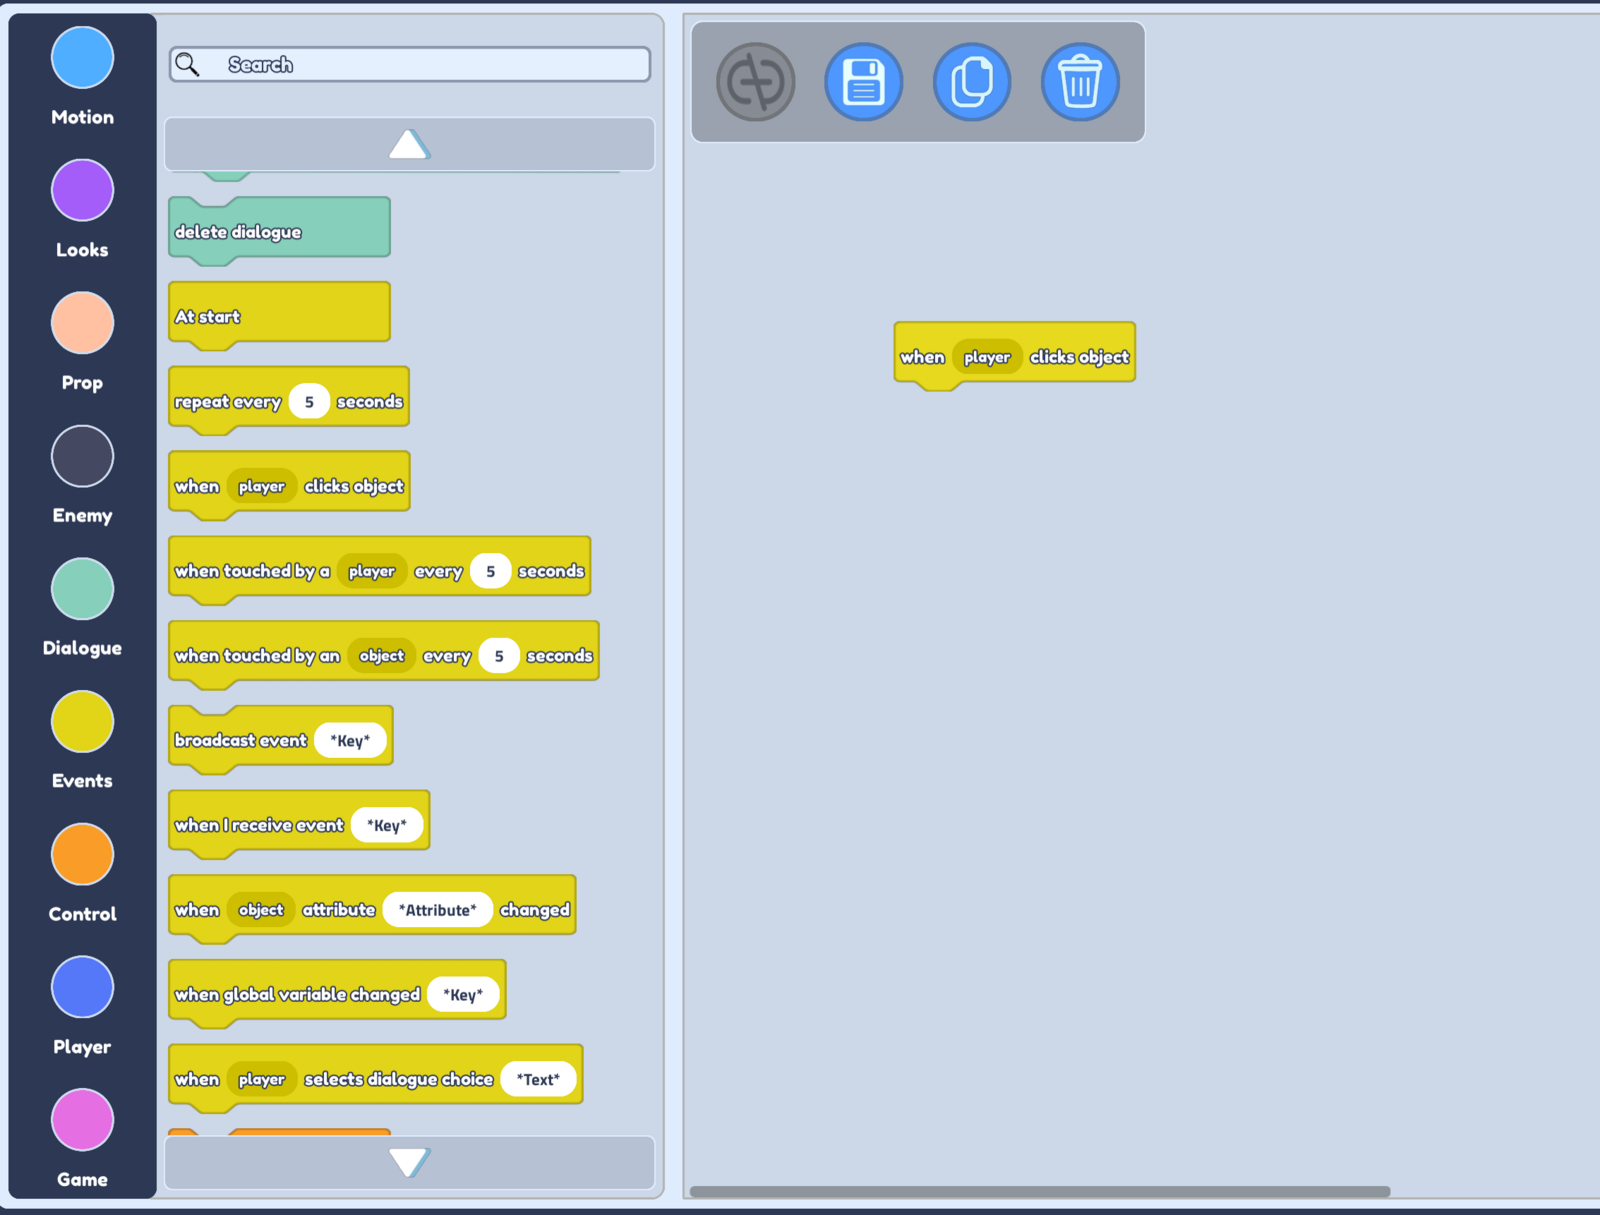
- Next, let's open up our Game blocks.

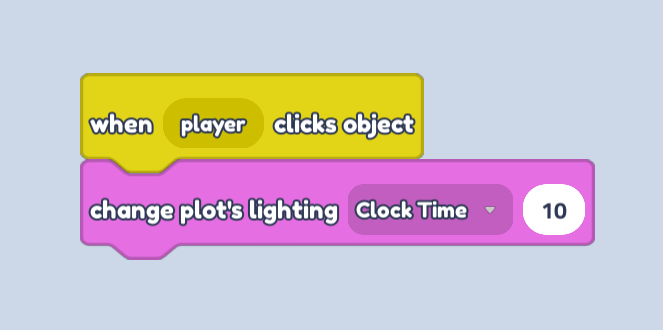
- Now we can drag the change plot's lighting block under our when player clicks object block. Let's set the clock time to 10, so that the lighting changes to day time when we click this button!
- To make our night time button is easy now! Firstly we need to duplicate our day time button. So let's select our button, and press on the clone tool which can be found at the very bottom left of our Build Tools.

Once you have cloned your button, place your new button anywhere you like, and open up the Code Builder for this new button.
It is very important that in the Code Builder for this new button, we unlink this script from our other button!
You can do this by clicking on the link button which is the greyed out button in the image below. You want your link button to be grey too. This makes sure that changing this script won't change the script for our other button!

- Now we can simply change the clock time in this script to be 1 instead of 10. This means that when we press this button it will make our plot lighting change to night time!
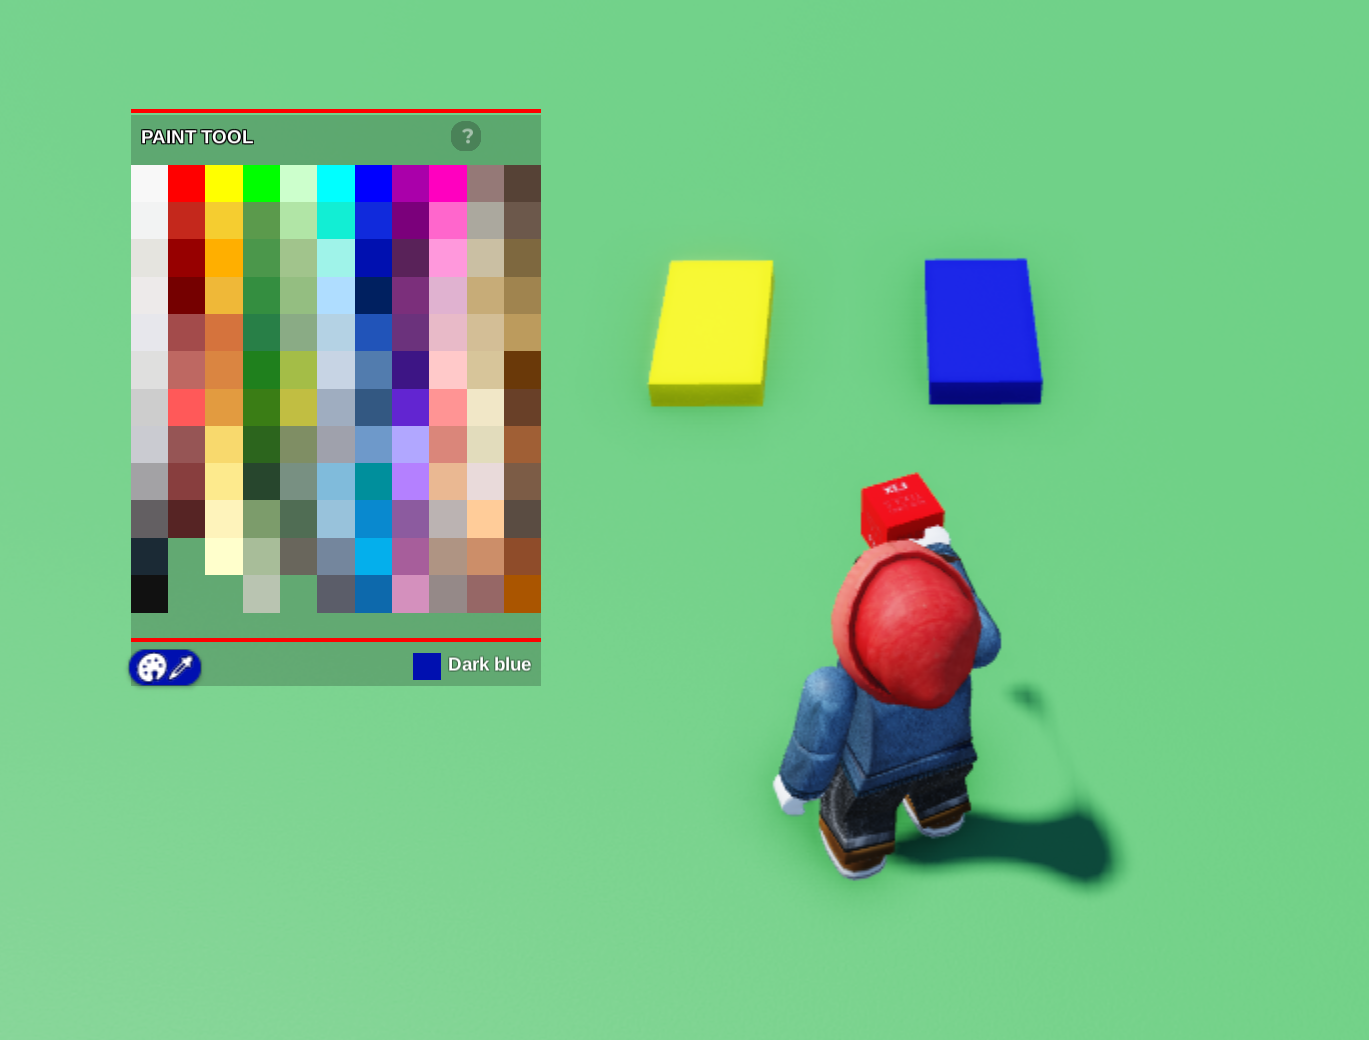
- To finish off, let's add a nice touch by making our day button yellow and night button dark blue. You can do this using the Paint Tool
- Now you can press Play and click your buttons to change your plot between day and night!